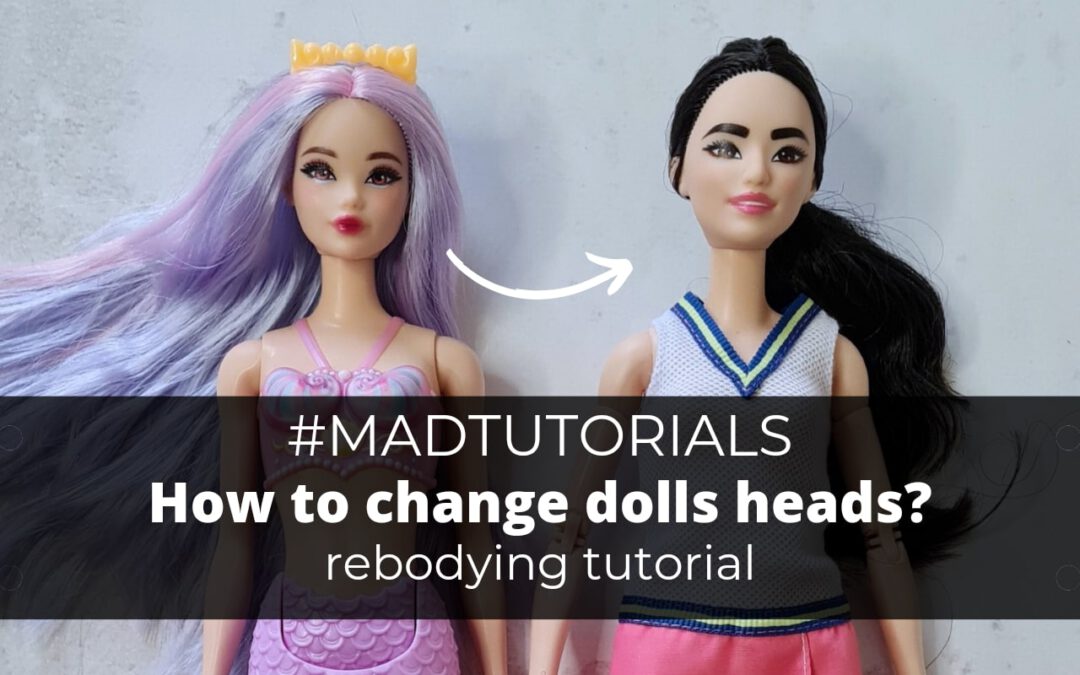
Changing doll heads, also known as rebodying, can be a fun and creative way to customize your dolls. This How to Change Doll Heads: Rebodying tutorial will guide you through the process step by step. This method includes using boiling water to soften the plastic so if you prefer to use the hairdryer for that instead, check out my other tutorial How to change the dolls’ bodies – Head swap tutorial.
What you need:
1) Doll you want to change
2) Second doll with a Made to Move body in a matching skin tone
3) Plastic bag
4) Mug or bowl
5) Boiling water
How to change the doll’s heads:
Rebodying tutorial
Step 1: Gather Your Dolls
Select the doll whose head you want to change and the second doll with a Made to Move body in a matching skin tone. Ensure that the skin tones match with the head, not necessarily with the body.

Step 2: Prepare the Dolls
Place both dolls inside a plastic bag. This will protect the dolls from getting wet during the boiling water process.

Step 3: Boil Water
Boil a pot of water on the stove. You will use this hot water to soften the plastic of the dolls.

Step 4: Pour Boiling Water
Carefully pour the boiling water into a mug, bowl, or any container that can accommodate the dolls’ heads.

Step 5: Submerge the Dolls
Insert the plastic bag containing the dolls into the hot water, ensuring that the dolls’ heads are fully submerged. The dolls will remain dry inside the bag while the plastic softens.


Step 6: Separate the Head
Once the plastic has warmed up and become more pliable, remove the first doll from the water. Gently pull the head to separate it from the body. Take your time and be patient to avoid damaging the doll.


Step 7: Repeat the Process
Repeat the same process with the second doll. Remove it from the water and gently pull the head to separate it from the body.


Step 8: Swap the Heads
Take the head of the first doll and place it onto the new body (the Made to Move body). Ensure that the head fits snugly onto the neck peg of the new body.

Step 9: Final Check
Once you have swapped the heads, double-check that the head sits securely on the new body and that there are no gaps or loose parts.

Step 10: Finished!
Congratulations, you have successfully changed the doll’s head! Admire your newly customized doll and enjoy experimenting with different head-body combinations.
Remember to take your time and handle the dolls with care throughout the rebodying process to avoid damaging them. With practice, you can become more skilled at customizing dolls to your liking. Enjoy your newly transformed dolls!
What do you think of this How to Change Doll Heads: Rebodying tutorial? If you’d like to keep customizing your dolls, you can check out my other tutorials, i.e.: How to fix the doll’s hair – doll hair repair 5-step tutorial , How to go from a fairy to a fashionista – Barbie doll makeover or How to straighten the doll’s hair – step by step tutorial.
Enjoy playing and have a wonderful day,
Margaret Ann
@margaretanndolls

No Comments